
How to use Streamlit to build web apps
plus we hit 1000 email subscribers!

A while ago I noticed people were starting to deploy web applications with a tool called "Streamlit".
If you’re anything like me, you have basically zero web dev skills so the thought of creating a web app or a website is a little daunting.
You have to manage so many different things to get a web app up and running so I was heavily surprised by Streamlit!
In this article, we’ll be going over
What Stremlit is
Why you should use it
How to use it to create your very first web app
ps. At the end of this article there’s a little surprise to say thank you for being part of this email list since we hit 1000 subscribers :)
1. What is Streamlit?
The easiest way to frame what Streamlit is, is by saying that Streamlit is an open-source Python framework designed for building and sharing data-driven web applications quickly and easily.
From my experiences with it and from what I’ve seen others use it for, it’s really tailored towards data scientists, machine learning engineers, data analysts, etc and helps to create interactive dashboards and applications using Python scripts.
It also uses it’s own syntax so you really don’t need any knowledge about frontend development like HTML, CSS, and Javascript.
Which for me, and like many data geared people, is very nice since we usually don’t focus on frontend work.
2. Why should you use Streamlit?
Streamlit is a great tool because it allows you to build powerful, interactive web applications with just a few lines of Python code.
In a web app I created for the 2024 Euros I was able to make this:
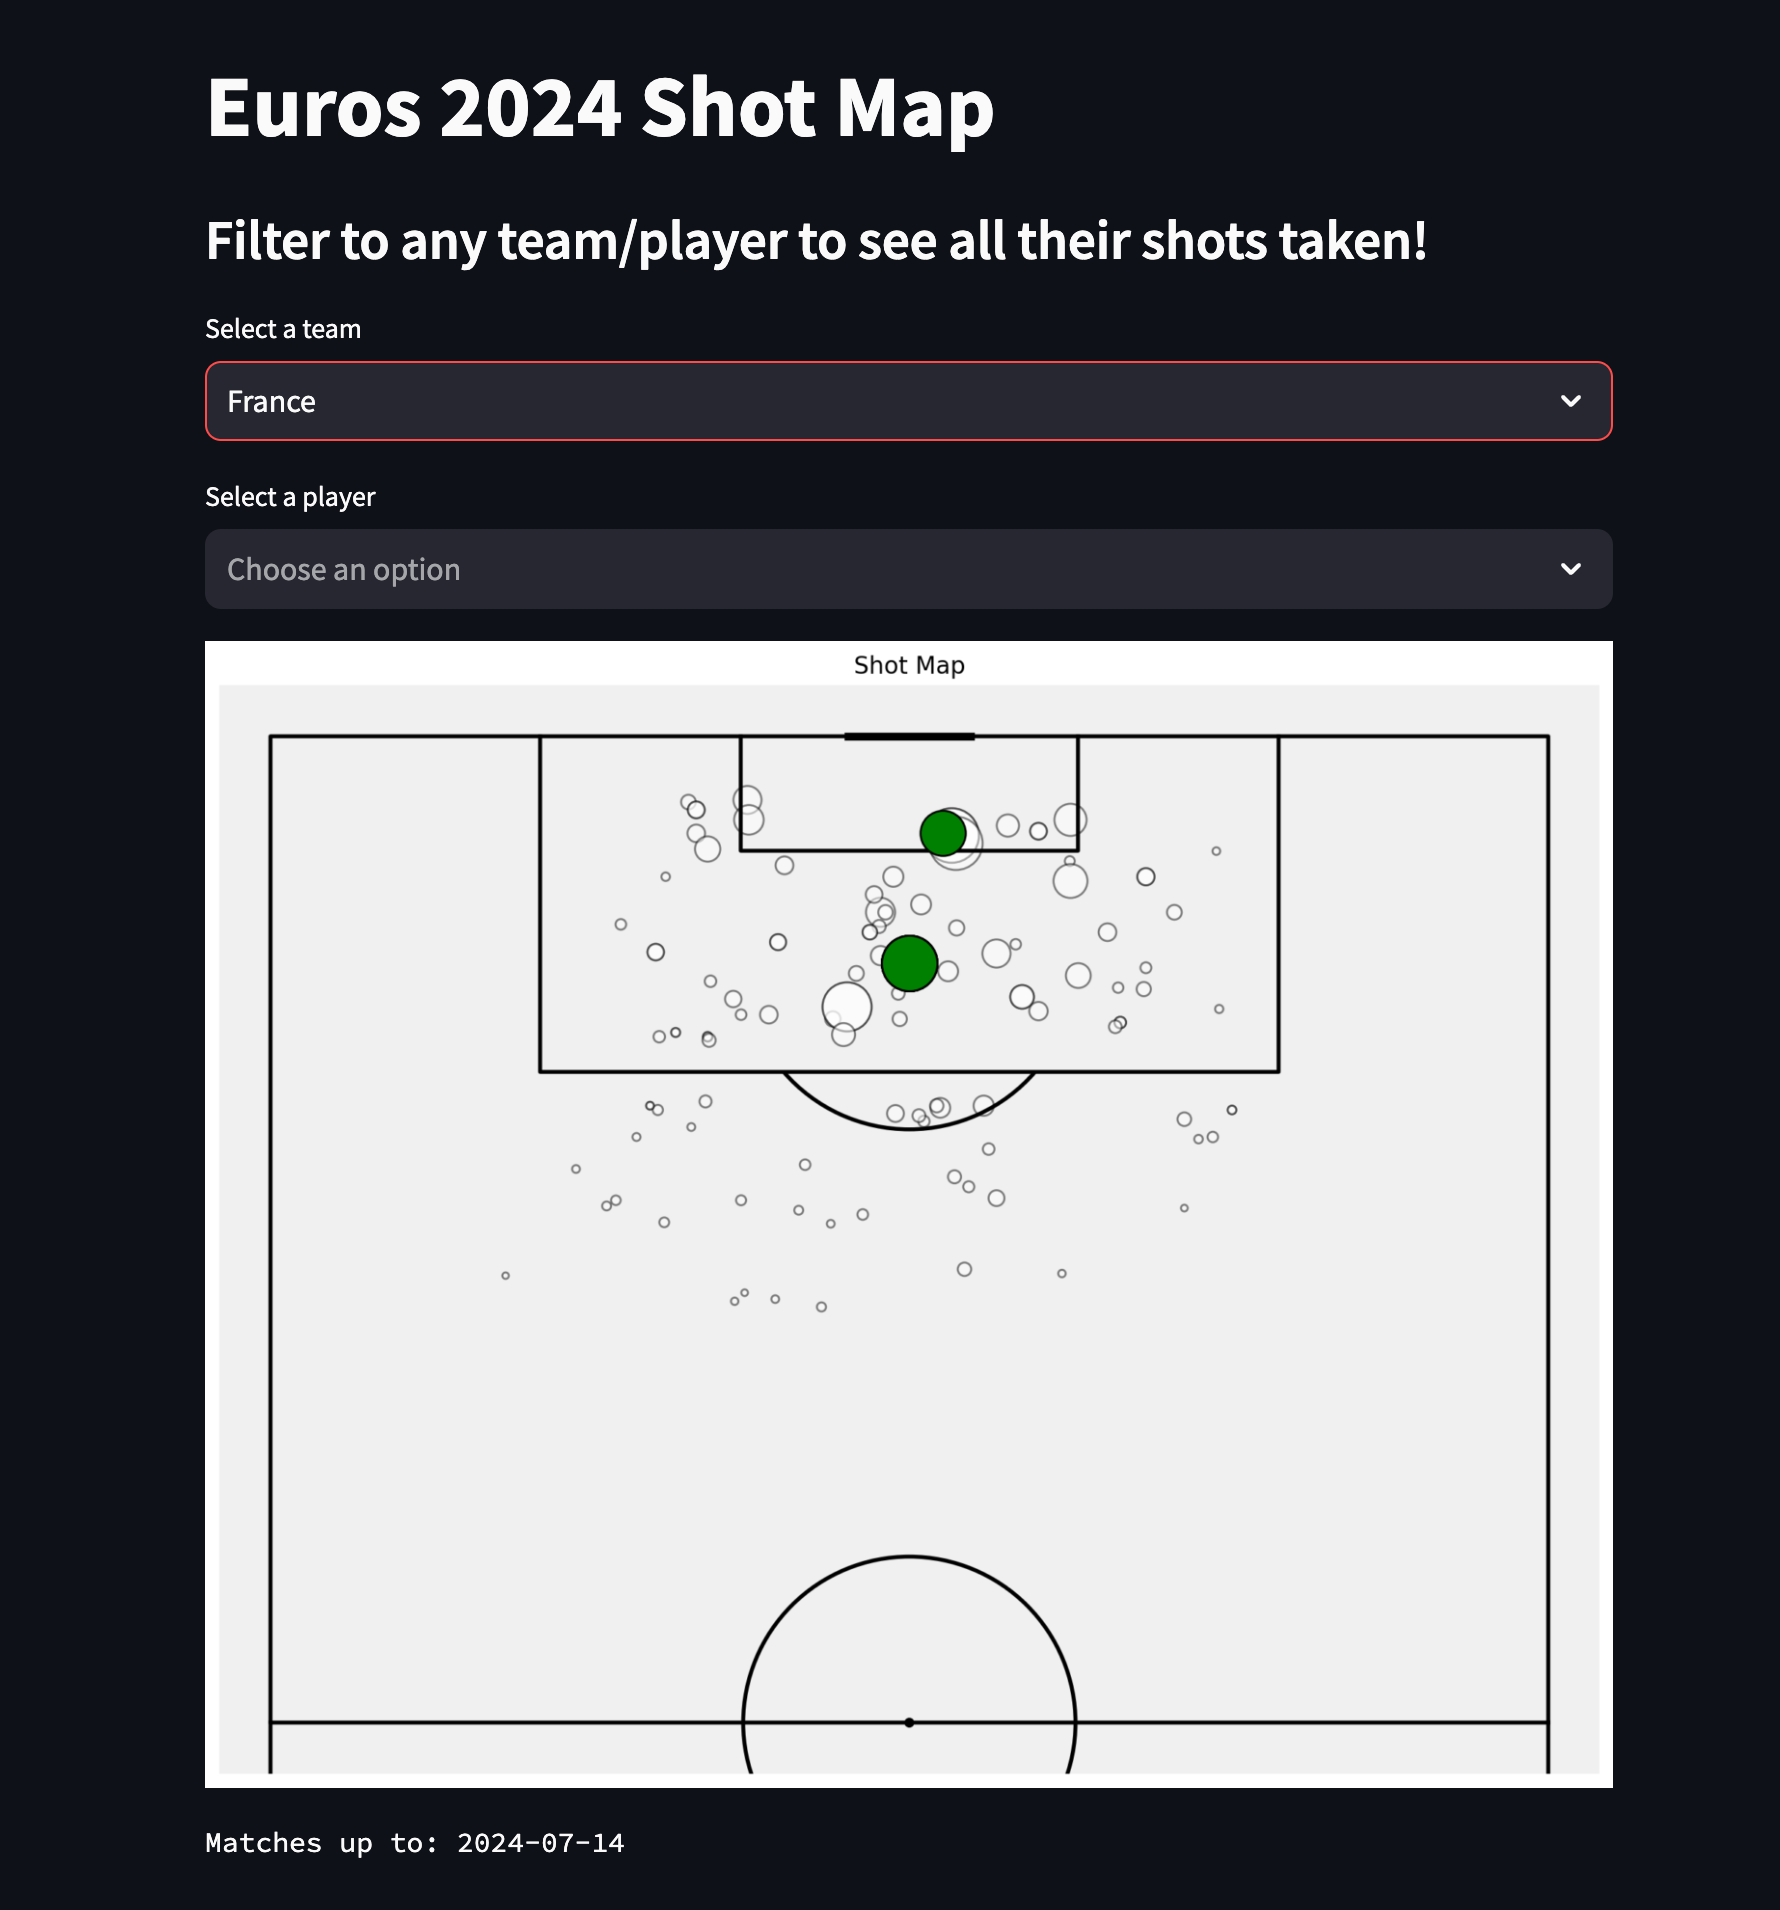
With only about 50 lines of code.
Which is insane if you think about it!
Granted my app is verrry simple but to do that with HTML, CSS, and Javascript it would have been a lot more than just 50 lines.
Streamlit also integrates seamlessly with popular data science libraries like pandas, matplotlib, and scikit-learn, enabling you to focus on your data insights rather than web development.
It also provides real-time updates, easy deployment, and a wide range of customization options, which really makes it perfect for sharing analysis and creating dashboards.
3. How to create an app with Streamlit
Ok now let’s move on to the fun part.
How to actually build a webapp with Streamlit.
The first thing we need to do is actually install the Streamlit package via your terminal/command prompt:
pip install streamlit
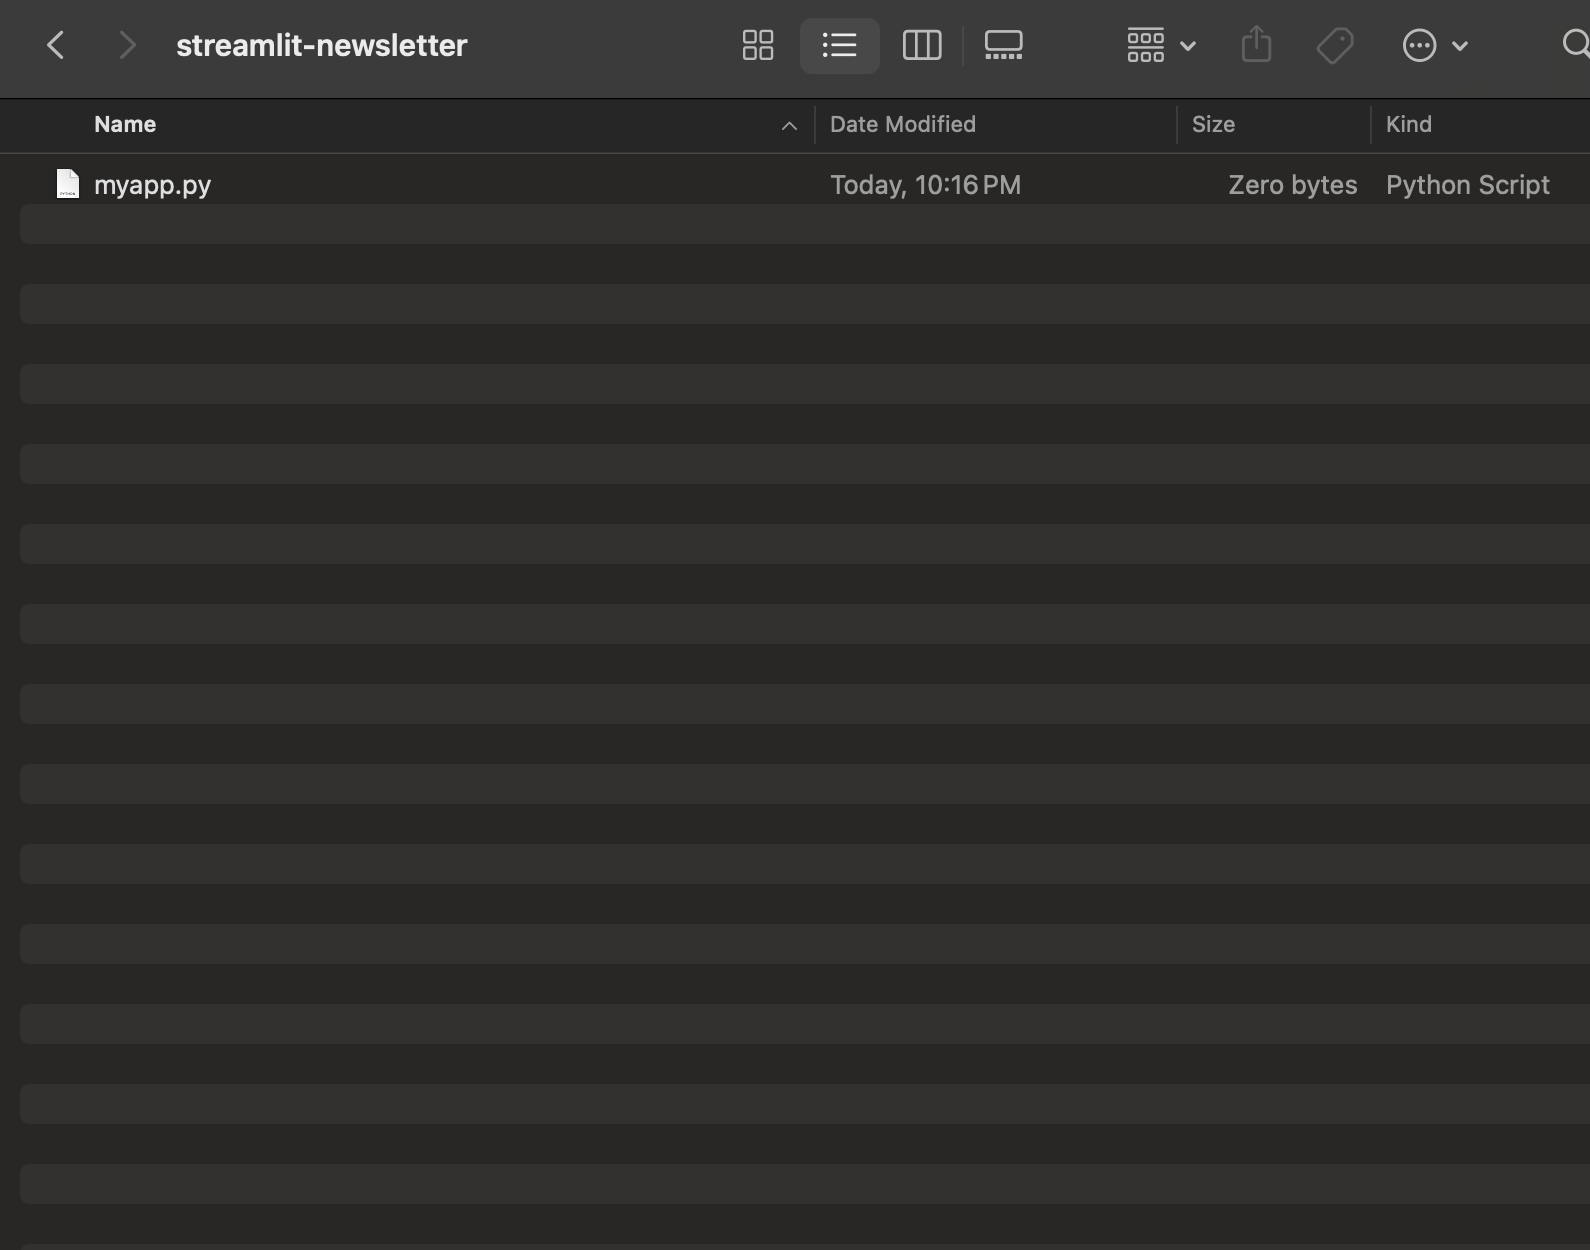
Once you have done that you need to create a Python file (so .py) and we will call it myapp.py.
Make sure you place this app inside a public GitHub repository and push it to GitHub so Streamlit can find the actual file.
After that we need to use the terminal to actually start the server locally so we can see it and make changes to it.
So change your location in your terminal to the spot of that file and run the following command
streamlit run myapp.py
What will happen is you will get a link to a “localhost” where you server will be running. Make sure you don’t close your terminal! That will kill the server.

So now we have our app but it is just an empty page.
Let’s add a title.
To do that, open up your myapp.py file and we’ll put:
import streamlit as st
st.title('My app :)')

Save that, and then back in the actual app click “always rerun” at the top so it will update when you make changes.

Now your app should have a title!

Ok so we have a simple app so let’s deploy it.
Click on deploy in the top right corner and just choose Streamlit Community Cloud.

It will make you go through a sign up process and connect to GitHub if you haven’t already, but once you have done that go ahead and click deploy…

And you have officially deployed a Streamlit app!
Here is mine if you want to see it.
Streamlit is super powerful and can really speed up development processes. Especially if you are more data than anything else.
I use it if I need just a simple dashboard but many people create full on websites with it and they are super powerful so the sky is the limit with what you can create.
1000 email subs
Getting to 1000 email subs was a long goal of mine which I didn’t really take seriously until early this year.
But we have gone from about 250 to 1000 in around 6 months which I am super pleased with. I’m hoping you are finding value from the newsletters and I am trying to be more consistent with it.
To say thanks for the support and celebrate I’m running a 50% off all of my courses sale for you guys on the email list for the next 48 hours (2 days).
If you use the code:
email1000 it will give you 50% off the course price at checkout for any of the courses.
You can find the courses here: https://mckay-s-site.thinkific.com/collections
There’s no pressure at all, I just wanted a way to say thanks for the support over the past year by offering a big discount if there’s a course you haven’t purchased yet but were wanting to.
Talk soon
McKay
Hi McKay, don't you have a video on your channel kind of a tutorial? I coulnd't find it. am I dumb enough or maybe is not there anymore? Cheers, Gustavo.